
Voice Processing – Compression Techniques
 There are any number of different ways compressors can be applied. But I’d like to focus on the ways I tend to use them for vocals and dialog. Not all compressors are the same — some have as few as two controls! But let’s have a brief look at all of the major parameters that may be available on compressors so we can adjust what’s actually available on any single unit.
KIAI!
Many of the basic effects of compression can usually be obtained with “auto” attack and release. But the more exotic colors come from tweaking these values. This is especially true for the increased impact you can get from slowing down the attack.
Much of the time I find my manual attack settings between 5 to 30ms for voice. As I push out toward 30 and beyond, the compressor lets the front edge of new syllables sail through freely, then it clamps down afterward. It is more noticeable for syllables that begin with a sharp, percussive sound.  Longer attack times will exaggerate sharp sounds for more punch and impact. The downside is that the compressor does less to reduce peaks. That means the makeup gain can’t go as loud as a quicker attack time without running the risk of clipping the channel. So this is a trade off.
On the other end of the scale, super quick attack values may sound thicker, heavier. So open up your attack time a bit to lighten up, or choke it down and hear if that adds the right kind of weight.
CATCH AND RELEASE
When my chosen compressor does not have an auto release function, I find my setting for voice in the 20 to 80ms range. The release time will be slower than my attack setting. I generally like to have the compressor fully recover between syllables or phrases. So for a quick, choppy delivery I will have a shorter release time and for held, legato notes my release time will be longer. If your compressor isn’t recovering a noticeable amount in between, then you’re just turning everything down all the time. If your release time is too quick, you may hear the voice pump, breath, and otherwise sound terrible. As the release gets longer the compressor will sound smoother, bring up less low level detail, and level out the volume of the signal overall.
If a compressor has an auto release or signal dependent release option, that tends to sound good on voice. The variable release of the LA-2A is a big part of the magic that box imparts. I don’t usually select a fully manual release time for voice if auto release is an option. In the rare case when I choose manual over auto it’s usually to intentionally make things sound weird or unnatural.
SAY WHEN
I don’t have a “most of the time” threshold setting, because it depends on the level variation of the voice and interaction with other compressor parameters. The key is how much gain reduction I want to obtain. Generally, I set the threshold so that the gain reduction is just a few dB RMS, 3 or 4 at the most. There are many important exceptions, but hitting for just a few dB is how I generally target for voice. When the gain reduction is heavy on a compressor, a voice can sound artificially processed. And that might be great in some cases, but most of the time I want a voice to sound natural.
You may have noticed that once you have the threshold set for the gain reduction you desire, adjusting the attack, release, and other parameters can change the amount of gain reduction. This interplay means that I will probably revisit the threshold setting when any other parameter changes significantly. I’ll check the gain reduction during different parts of the song or program too, and make adjustments if I encounter compressor inputs that are much louder than the signal I used to set the threshold initially. My point: I seem to adjust and re-adjust the threshold more than any other compression parameter.

RATIO
Some sounds benefit greatly from high compression ratios. But voice isn’t one of them. In my experience, compression ratios lower than 2:1 work well for voice. I’ll routinely use from 1.2:1 to 1.5:1 ratios on voice. This allows my threshold setting for several dB of gain reduction to be active more of the time, on a wider range of signal volume. This tends to sound more natural and be more effective, in my opinion.
On the other hand, I do love to use higher ratios and more severe gain reduction in a different context: parallel compression.
DUELING CHANNELS
Often attributed magical properties, parallel compression is a good trick. The signal path gets split in two, with the voice bussing to two channels at the same time, then different processing is applied to each side, and finally they are recombined. The compression is only applied to one channel, which can help it sound less obvious. That’s because a loud passage comes roaring through the uncompressed path, and the compressed channel is relatively lower in volume. So the compressed voice “gets out of the way” for the uncompressed. Quick, percussive syllables still sound fast; the compressor lowers its side of the signal, which makes it less noticeable by comparison. When the voice is soft the compressor opens up to reveal low level details. It’s like someone going through your whole mix automating the volume up for all of the quiet parts.
The technique from olden times is still used today, using two channels on an audio console. The tape return (or DAW output) goes to a vocal channel and is then sent on an alternate path using a buss or aux send. This secondary output is patched into a compressor then returned to a second console channel input. The uncompressed channel and the compressed channel are both mixed together. 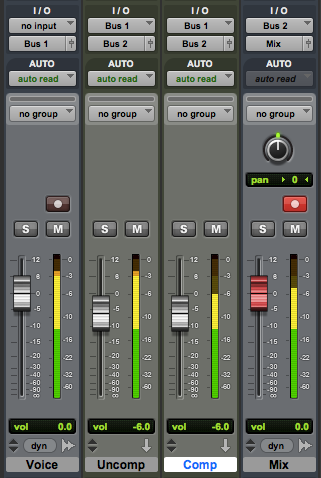 In a DAW the voice can be bussed in the box to two aux channels. Compression is added to one of the channels. The output of both channels are mixed together. In recent years we’ve seen plugins with a wet/dry mix option. This allows a single channel to pass some uncompressed plus compressed signal at the same time, simplifying the setup for parallel compression.
I typically adjust my compressor parameters until the compressed signal is lower than the other channel for loud voice, and higher than the other channel for soft voice. With that compression scheme, my mix is almost always 50% compressed and 50% uncompressed (each channel output set -6dB). I may go automate something different later, such as pushing the compression channel when I want more perceived volume during extreme shouting. But 50/50 is where I start and frequently stay.
NEXT LEVEL COMPRESSION
Parallel compression provides some unique mixing opportunities. For example, if you want a consistent amount of a sparkling plate reverb for the voice all of the time, your send to the reverb can be from the compressed channel only. If you want a dynamic delay that rings out mostly in the loud passages, send from the uncompressed channel only.
Performers with mic technique will tend to lean in for quiet parts and pull back for louder stuff. That’s often helpful, but it can also mean the quiet parts have more bass than louder ones due to proximity effect. But if you apply a frequency cut and/or shelf in front of the compressor (on that channel only) you can thin out the quiet parts. Likewise if the quiet parts are difficult to understand, you can apply an EQ boost in the 2-5k Hz range after the compressor to aid diction.
Basically, processing on the uncompressed channel tends to be heard more during the loud parts and processing on the compressed channel is better heard during the quiet parts. Being able to target your processing based on loudness is advanced sonic kung fu.
AGAIN! AGAIN!
I love the metaphor that compression is like painting: if you apply it all at once you get a big, gloppy mess. But if you apply it in layers, you get better coverage for a nicer finish. 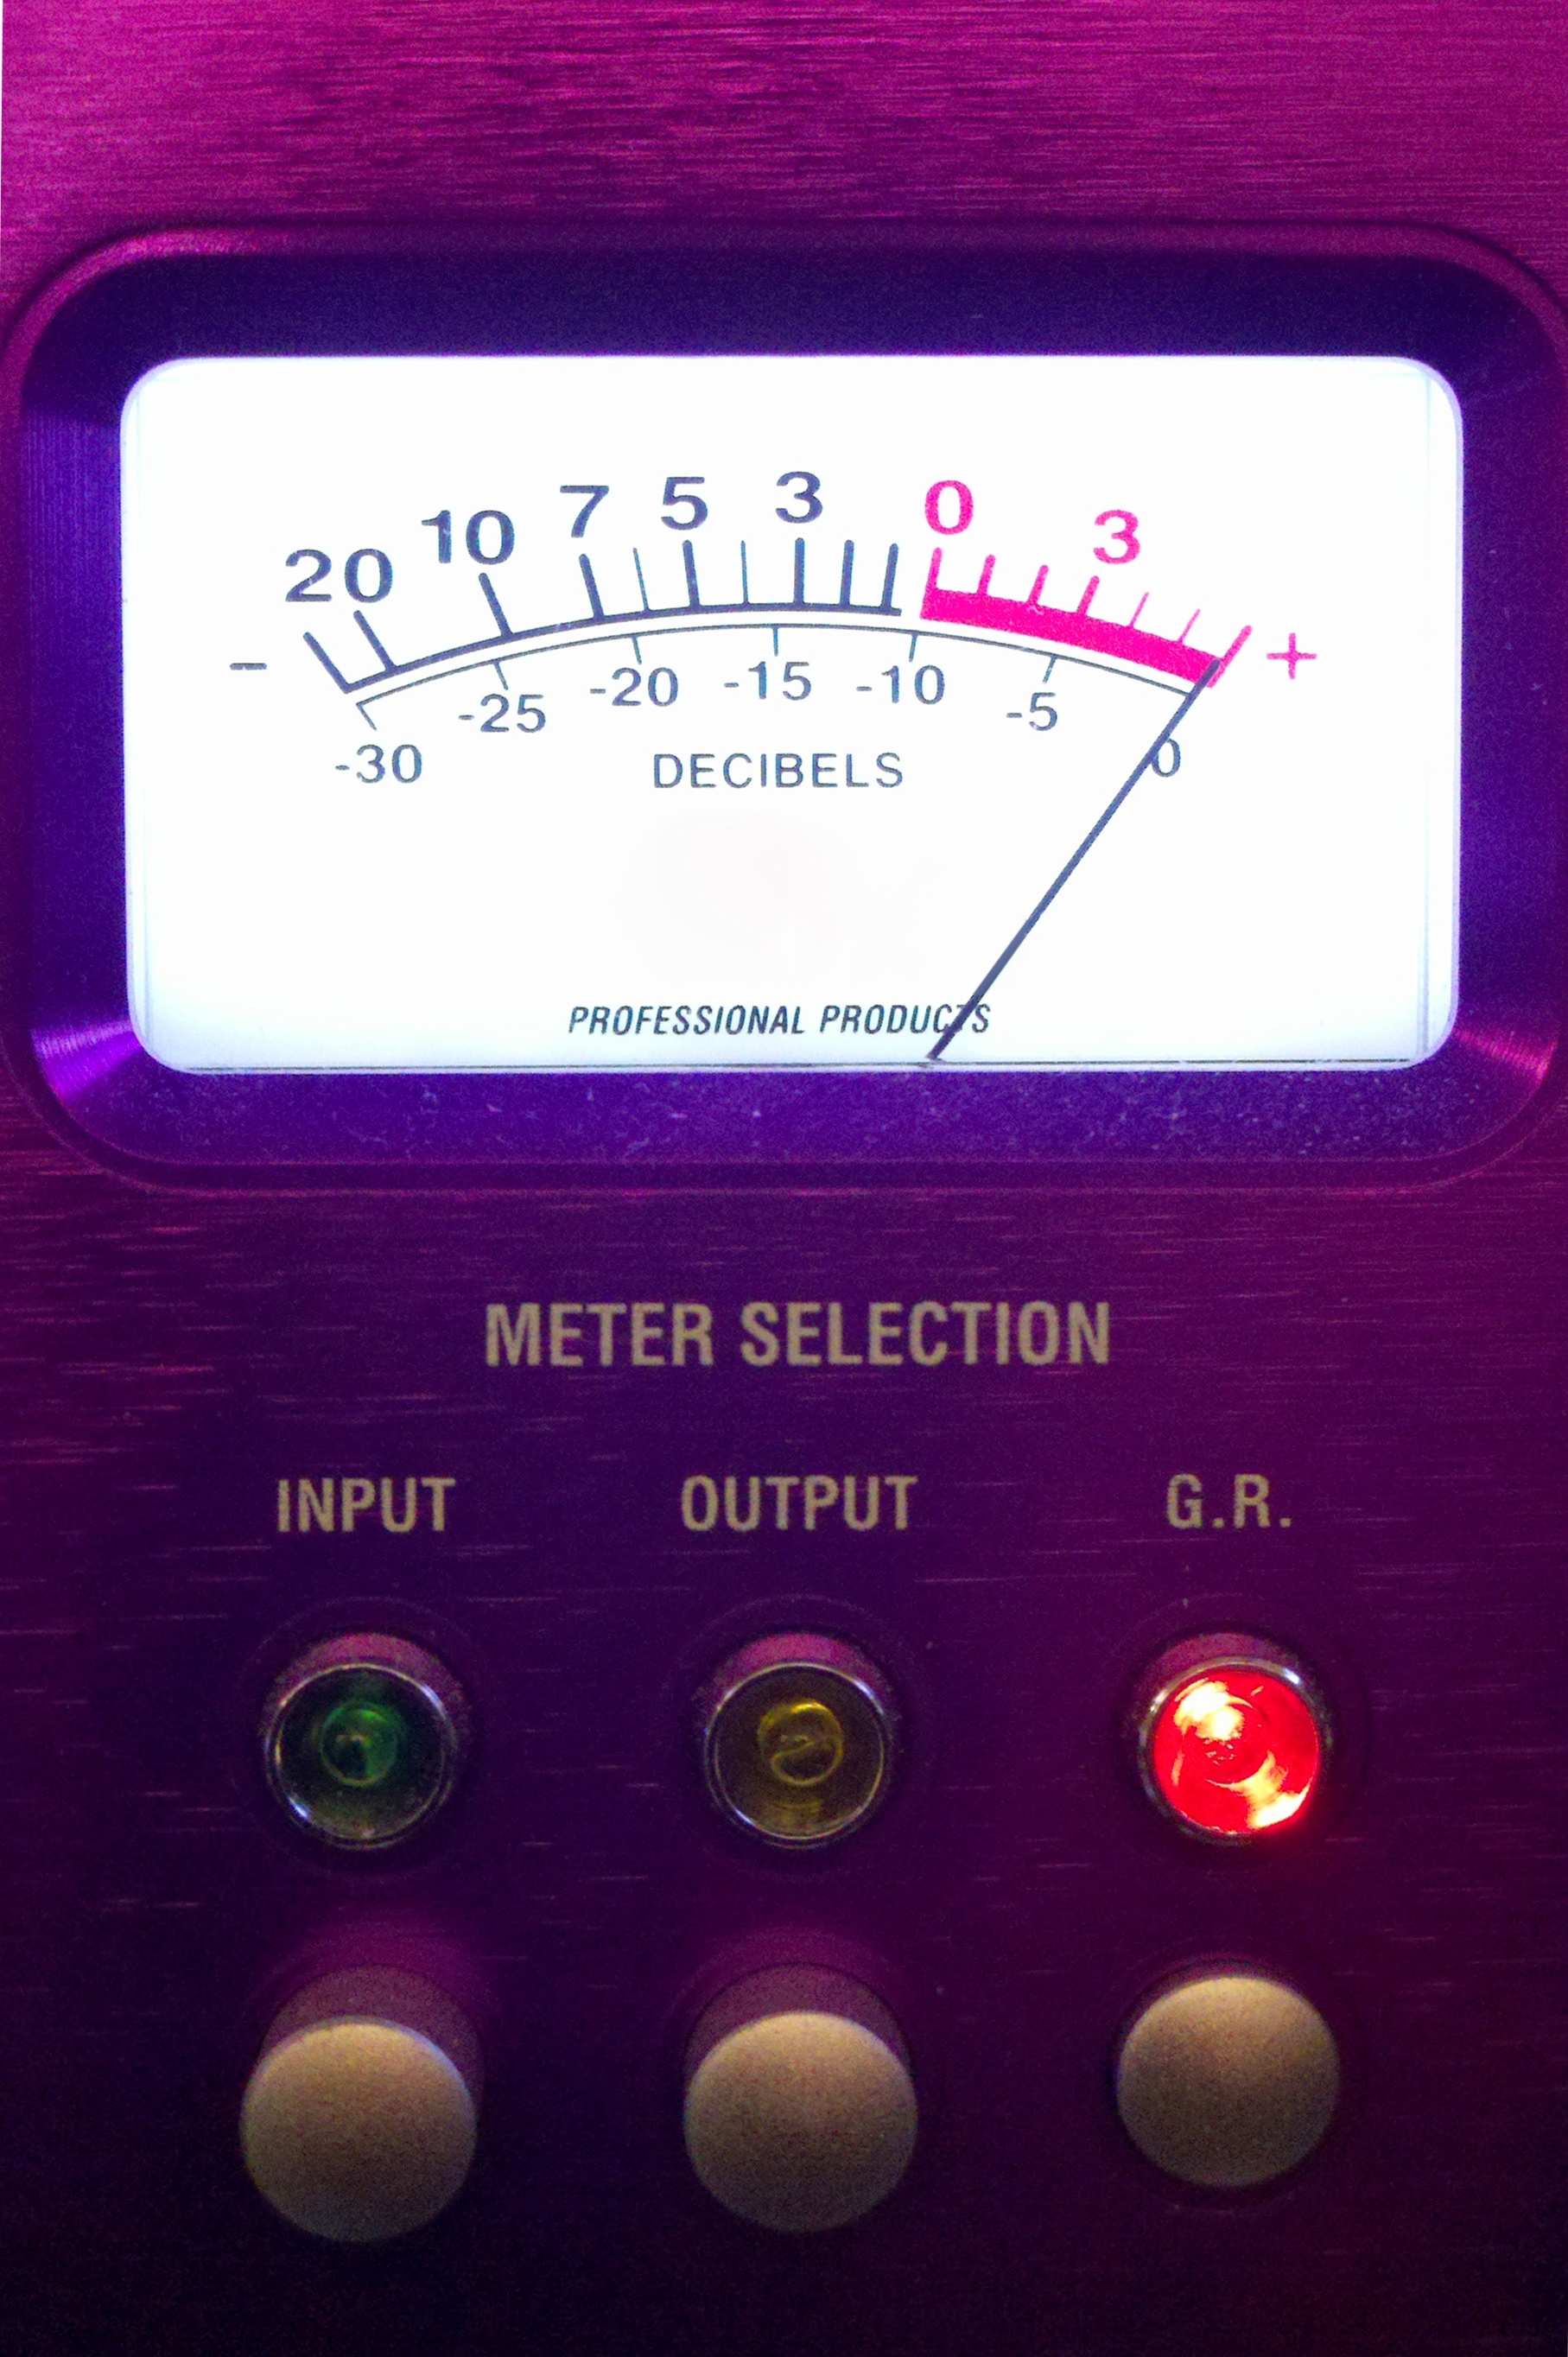 This is my favorite compression technique secret — don’t just do it once, do it several times. I like to apply a few dB of analog gain reduction when recording, then maybe some more on the signal in the box via plugin, then maybe some more on a group buss (for instance, all of the vocals), and probably some more compression on everything when the full mix is mastered.
This serial compression works much better if each iteration is slightly different. For example, use a low ratio for recording. Then use a different sounding compressor with a higher ratio as part of parallel compression. Maybe the attack and/or release values are different for one of the many layers. This way the gain reduction doesn’t keep hitting the voice in the same spot over and over, or all at once. Instead the voice is gently reshaped and refined from recording to final mix.
Also in this Voice Processing series:
Frequency Cuts
Compression Effects
Frequency Boosts
Extreme EQ!
Limiting
De-Ess
Additional compression articles:
Basics of Compression by Justin Matley
11 Comments
Leave a CommentTrackbacks
- Voice Processing – Compression Effects | Randy Coppinger
- Voice Processing – Cuts | Randy Coppinger
- Voice Processing – Boosts | Randy Coppinger
- Voice Processing – Extreme EQ | Randy Coppinger
- Voice Processing – Limiting | Randy Coppinger
- De-Ess | Randy Coppinger
- ASSG – Voice Processing – Extreme EQ
- Vocal Production: The Definitive Guide

Randy:
I have been playing around with making beats but have not yet gotten in to dealing with vocals. I am really interested as I would like to get on the career path of a music producer.
I do find this all a little confusing. I don’t think I have the equipment I need. Once I get the equipment I can play around with it and figure things out based on the post.
My first silly question, why do we need to use compression for voice processing?
I have enjoyed your site and will be back to learn more.
Thanks!
Thanks for reading, thinking, and commenting Tony.
You don’t need compression. But it can be a handy tool. As detailed in my previous article about Compression Effects, it can increase apparent loudness, which can improve presence, detail, and intelligibility. Good stuff! But compression was for me the least intuitive thing to learn. So be patient with yourself and give it the time and attention you need.
Someone once advised me that there are 3 basic ways to learn audio engineering:
1. formal learning (reading)
2. experience (doing it yourself)
3. being mentored (working with someone else who knows more than you)
I have been fortunate to benefit from all 3. Find a mix of these things that works for you.
Thanks again and best wishes. I hope that helps.
Your site is has great precise tips! It’s helping me out and giving me new ideas to try.
Thanks Damien