
Optimizing Zoom for Remote Voice Acting
Zoom has quickly become the de factor standard for video meetings. And the audio defaults are great for most uses. But voice actors can make better use of Zoom’s features for their clients by changing a few audio settings.
Kudos to Jordan Reynolds, who got me hip to Zoom audio settings for our conversation about Microphones for Voice Actors at Home.
The first step for optimizing any video call system is to find out how much bandwidth it needs, then run a SpeedTest to find out if you have enough. Zoom requires 2Mbps up and down for video and audio. If everyone shuts off their video, you only need 60-80kbps for audio. If you’ve got too little to support Zoom, consider shutting down bandwidth hogs on your network during your call.
Many users get better results from a wired Ethernet connection than WiFi. If you don’t already have an Ethernet cable running to your Zoom device, you’ll also likely see speed increases for file transfers, streaming, etc. if you connect it by wire.
If you cut down other bandwidth hogs and connect via an Ethernet cable but still have problems getting enough bandwidth for Zoom, you may need to talk to your internet service provider, and/or upgrade your modem or router.
Inside the Zoom application open Preferences. Select Audio in the left panel. On the Mac it looks like this:
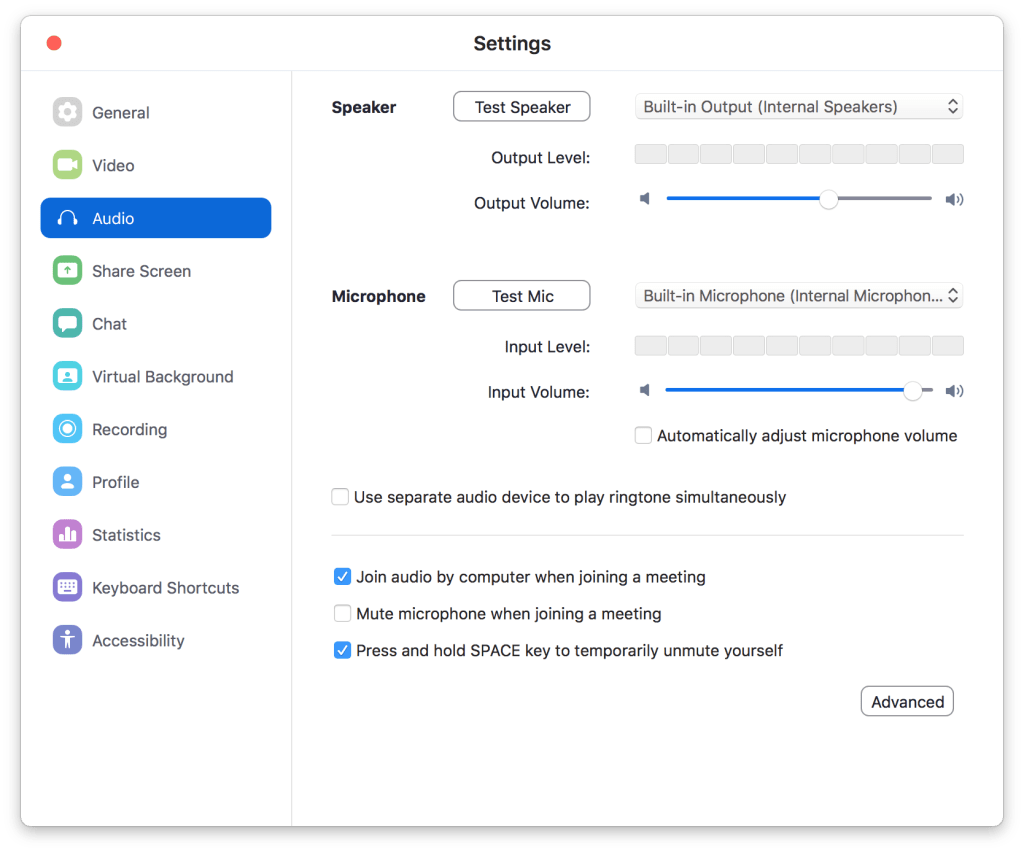
Be sure your audio interface is selected in the Speaker and Microphone pulldowns. Your built-in options aren’t going to sound very good.
This might also be a good time to enable Press and hold SPACE key to temporarily unmute yourself, which I find very handy for voice directing and script supervising. Actors can leave themselves unmuted, while everyone else stays muted during the recording. This option creates a Press to Talk function for everyone else who is muted. Pretty great for remote recording sessions, right?
Now click Advanced in the lower right hand corner to bring up these choices:
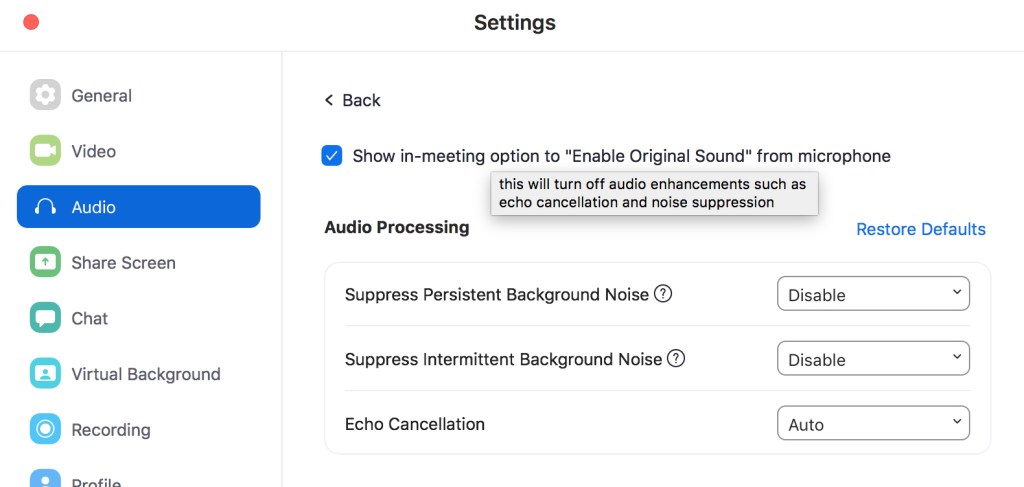
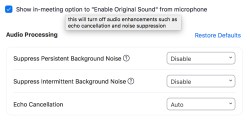
When you rollover the text to Show in-meeting option to “Enable Original Sound” from microphone, you’ll see the floating explanation shown above. Those enhancements are great most of the time, but to allow your voice acting clients to hear as much of what’s actually happening while you record, enable the checkmark.
While you are there go ahead and disable the suppression of persistent and intermittent background noise in those pulldowns. You shouldn’t need these, but they are a nice backstop in case you forget the next step on a call.
With the original sound option now enabled, close out of the Settings dialog box. In your next Zoom meeting you’ll see this in the upper left corner (Mac):
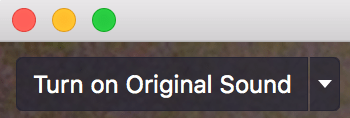
The pulldown to the right gives you some other cool options, but for starters you want to click directly on Turn on Original Sound. When you do, it will toggle to Turn off Original Sound, which is what you want to see. Now listeners can hear you without any additional sound processing from Zoom.
Read more about Recording Voice Acting Remotely.

2 Comments
Leave a CommentTrackbacks