
click to enlarge
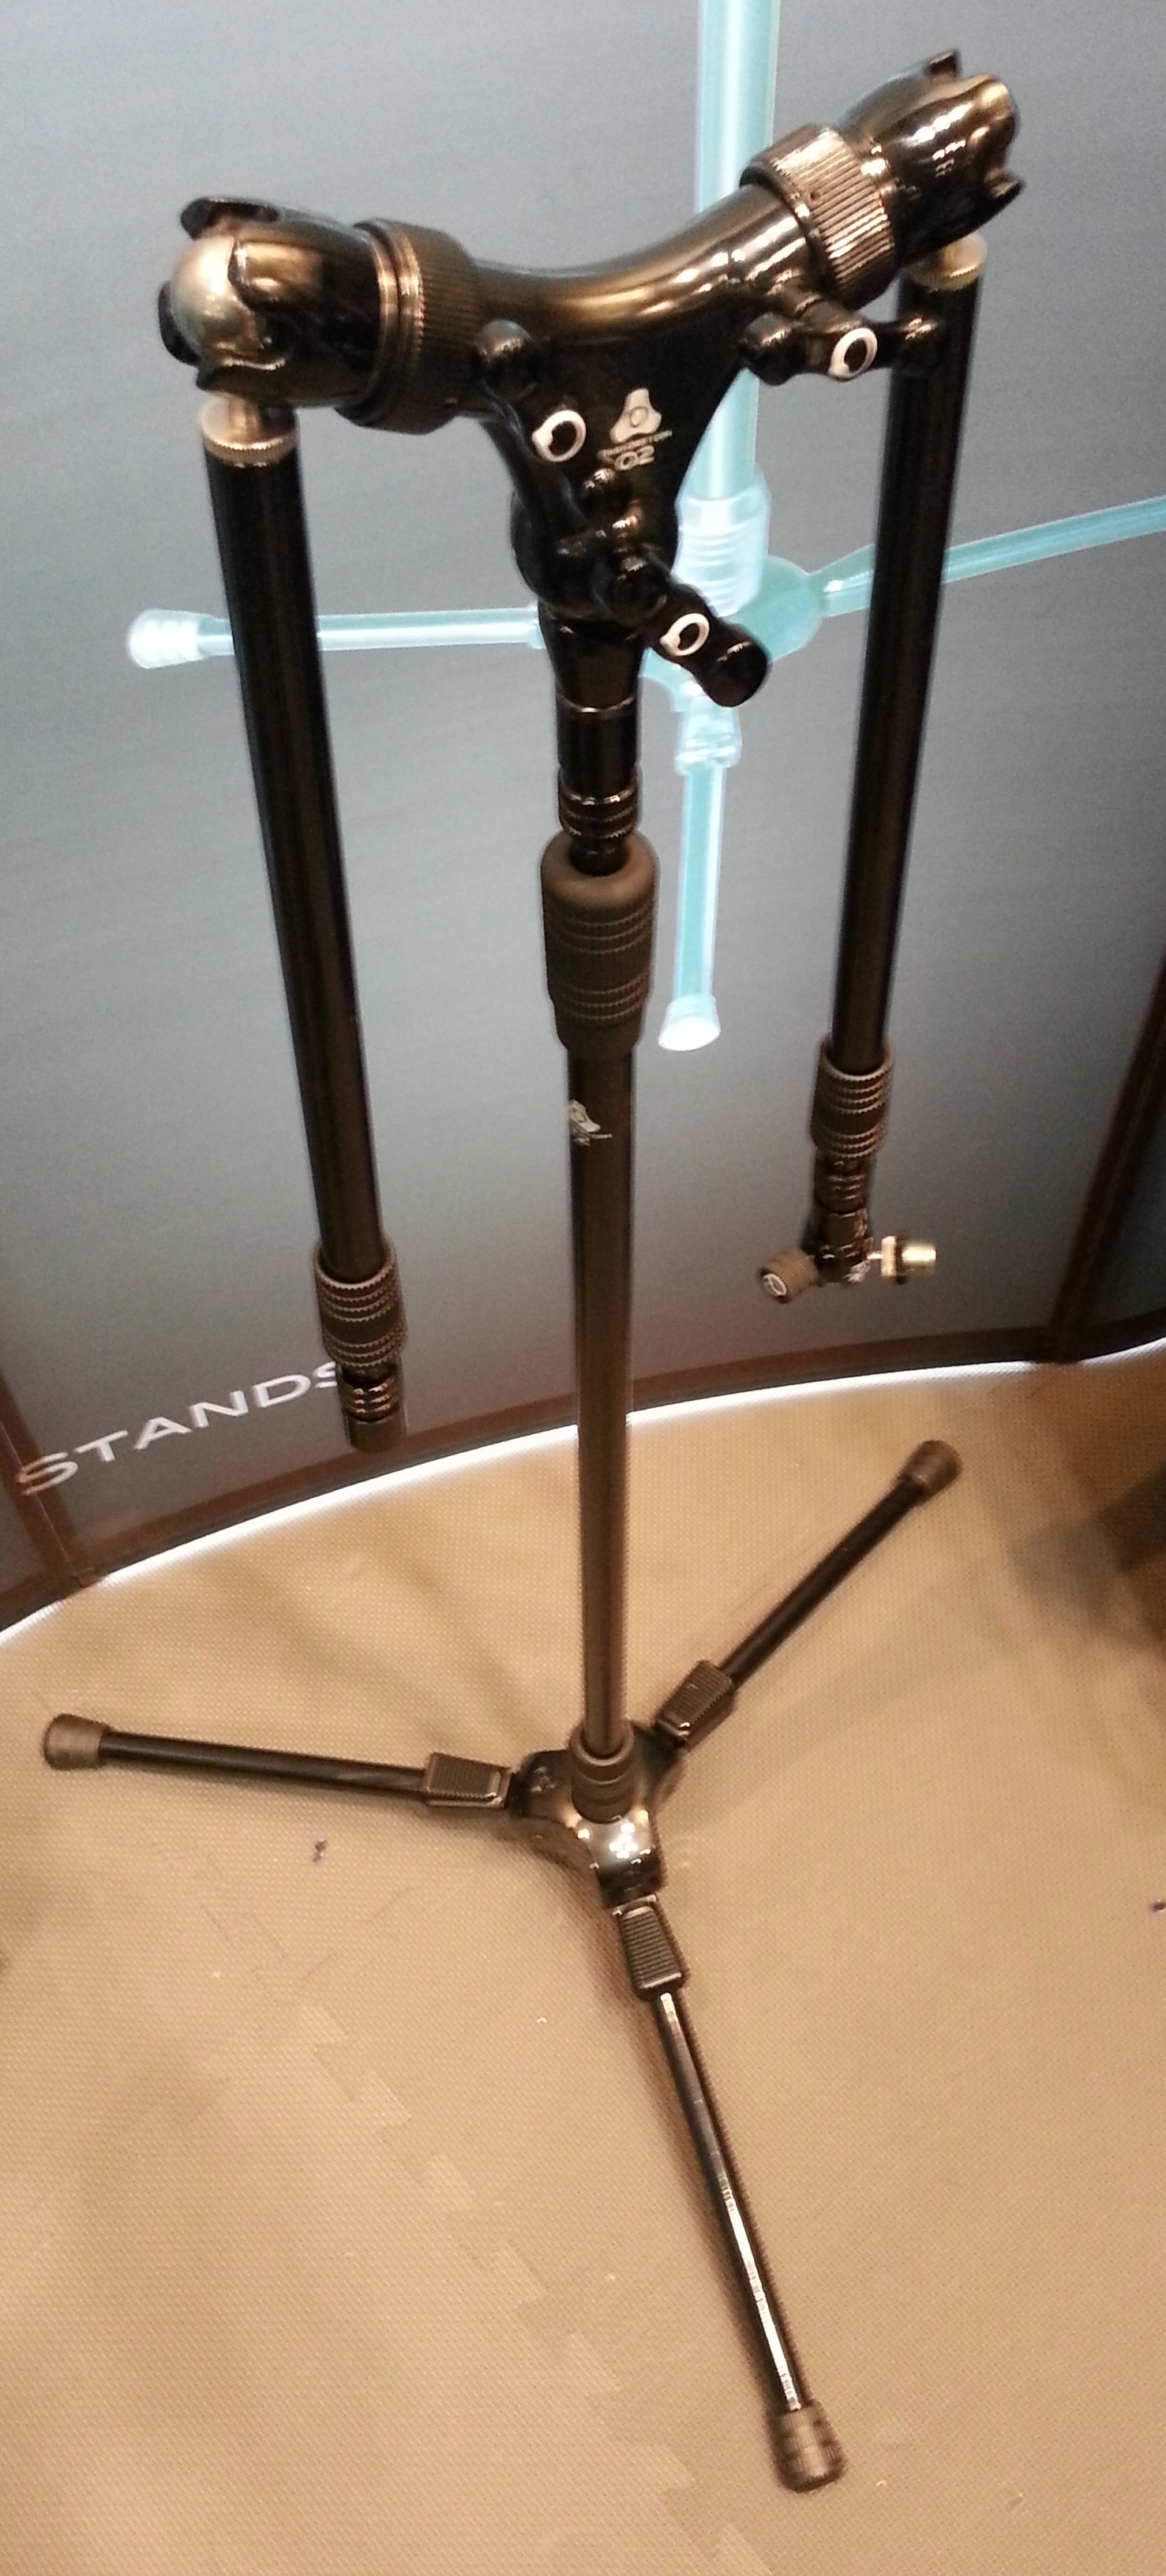
The unique split arms configuration shown here seems well suited for drum overheads, piano, or anywhere you want a pair of mikes for stereo recording. The company website also shows the dual arms in use for simultaneous over and under snare miking. To the right: a full view of a Triad 2 stand with Orbit 2 split arms and a Micro 2 at the end of the right boom.
Check out this close-up on the Orbit 2 Y-shaped split.

click to enlarge
This close-up shows the ball and joint socket that provides so much flexibility for angling and rotating the boom where you want it quickly.

click to enlarge
Each leg of the tripod has four ratcheted positions and a foot-actuated latch for hands-free adjustment.

click to enlarge
This motion GIF from the Triad-Orbit website shows the tilt angles that can be achieved using the ratcheting action.

The telescoping action of the vertical pole is regulated by these ergonomic grips that taper to better fit hand shape.

click to enlarge
Another rubber coated grip on the telescoping portion of the boom pole.

click to enlarge
Another ball and joint socket at the end of the boom, called a Micro, makes angling and rotating the microphone so simple.

click to enlarge
There is a shorter vertical stand that would be great for miking kick, guitar cab, and anything else close to the ground. There is a 3 section telescoping vertical stand too for really high placement. The ball and socket joint is available for a more traditional single boom arm configuration, in addition to the split arm system shown above. There is even a quick release system at the end of the boom pole, similar to a Quick Clip. For more details, see the Triad-Orbit website.
See also: Bobby Owsinki’s thoughts on Triad-Orbit stands
For more convention presentations, photos, audio gear, etc. see: 135th AES NY Roundup

Helmut Wittek and Michael Williams
My notes from the Oct 20, 2013 presentation at AES 135 Convention in New York:
W28: Practical Techniques for Recording Ambience in Surround
Helmut Wittek
What is ambience? Understanding sound in three layers:
(1) Reverb, Diffuse Noise
Diffuse, location-independent, not localized, room information.
Must be de-correlated, balanced energy distribution.
(2) Early Reflections, Discrete Sounds (spread)
Discrete, location-independent, localized, but the location is arbitrary, info on position of the source in the room.
Must be correlated, balanced directional distribution.
(3) Discrete Sounds
Discrete, location-dependent, localized, source information.
Must be correlated.
Recording Ambience: Berlin Street Square
Larger distance between the two mikes
More directional mic patterns
Greater angle between mikes
DFC: Diffuse Field Correlation
Arrays can be built using the Image Assistant Java applet and/or the Michael Williams curves.
After the session I spoke with Helmut about using boundary layer techniques to record ambience. We agreed: this could work very well to achieve de-correlation, but the necessary size of the movable boundaries would render such an approach far less practical than any of the arrays demonstrated.
Helmut’s full presentation plus all of the surround sound demonstration files are available here.
Michael Williams
5 channel umbrella, 12 channel umbrella, 16 channel array including height information
Unified Perspective:
All sound is recorded at the same time; there are no layers. The layer concept provides additional control for later in the process whereas array placement is absolutely critical for the Williams arrays. But layers are to sound what hamburgers are to food, whereas the Williams arrays are “like fine French cuisine.”
The 5, 12, and 16 mic arrays are scalable: turn on as many microphones as there are speaker channels.
2nd volume of his book is now available. I bought it.
A collection of papers about recording by Michael Williams, plus his Multichannel Microphone Array Design pages here.
For more convention presentations, photos, audio gear, etc. see: 135th AES NY Roundup
My notes from the Oct 18, 2013 presentation at AES 135 Convention in New York:
G4: Loudness in Interactive Sound Roundup
by Garry Taylor at Sony
1 LU = 1 dB (sort of…)
EBU Tech 3342 is the TC authored paper about loudness range. The top and bottom 10% are discarded in the TC loudness range measurement. EBU recommendation for home use is a loudness range of 20 LU.
Why standards?
Users deserve a consistent loudness experience.
We want to promote good engineering practices.
Protect the format (and equipment) used to deliver content.
Codecs don’t deal with clipping very well.
Headroom is very important when downmixing from multi-channel to stereo.
Sony’s standards for loudness:
PS3 / PS4: -24 LUFS +/-2
PSVita (mobile): -18 LUFS +/-2
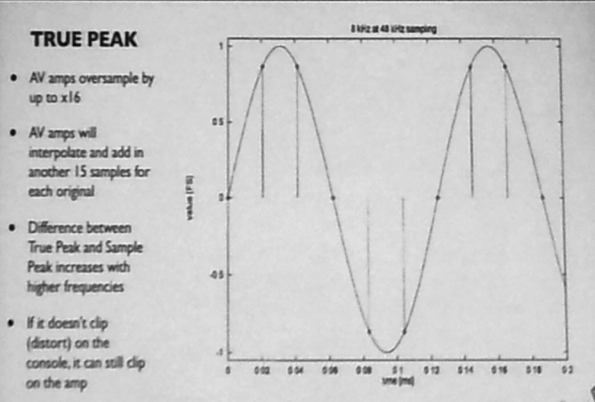
True Peak should not exceed -1 dBTP
Loudness Range (LRA) should not exceed 20 LU
There is loudness code that runs on PS4 development tools. Developers must measure their games and submit the reports, but are not automatically held back if missed.
DSP limiters onboard are not currently True Peak, so they set standard limiters at -1.5dB, which MAY exceed -1 dBTP.
Audio should be measured as a whole, not dialog or other isolated content specifically.
Splash screens are measured separately from gameplay.
Titles should be measured for a minimum of 30 minutes with no maximum, targeting a representative cross-section of all game play.
Loudness testing happens at the very end of development. Make a great sounding game first!
Loudness in interactive entertainment is an inexact science – because content is presented based on player activity.
These best practices are informing a set of parameters for content creators, especially for dialog localization.
IESD is working on recommendations for mobile games.
For more convention presentations, photos, audio gear, etc. see: 135th AES NY Roundup
Yesterday I took notes at an AES Panel titled Producing Across Generations: New Generations, New Solutions – Making Records for Next to Nothing in the 21st Century. This isn’t a transcript, just a collection of things that I found inspiring. Enjoy.
Moderated by Nick Sansano
Seated Left to Right, older to younger: Frank Filipetti / Bob Power / Craig Street / Hank Shocklee / Carter Matshullut / Jesse Lauter / Kaleb Rollins (K-Quick)
Carter Matshullut: Small labels can serve as taste-makers.
Bob Power: Limited resources often help make a record interesting.
Frank Filipetti: “You have to be scalable to survive.” “You have to temper budget with what got you into this business: the love of music.”
Hank Shocklee: I spent $12k on Fight the Power. “I never had any budget.” We would work 3am – 9am to get cheap rates. Chung King was used to record My Uzi Weighs a Ton. Your records are basically a flyer, a promo item to sell shows. “Whatever you don’t have is what fuels your creativity.” I sampled because I couldn’t afford a drummer. Technology is vital.
Frank Filipetti: Limitations force decisions… Sgt. Peppers sounds like it does because it was recorded on a 4 track. People are not being forced to make decisions so a mixer now must do that. The decisions caused by limitations informed the record. Making decisions early on – having that limitation – forces you to think and plan more about the sound of the record early.
Bob Power: Freshness and creative energy are important. You need to maintain the musician’s enthusiasm. Tedious work during tracking can kill the energy.
Craig Street: “Analog is really nothing but an attitude.” Give yourself limitations. Don’t do so much because you can. Do what the song needs. You’re just trying to capture a great performance.
Frank Filipetti: “Be really gear agnostic.” “There is no piece of gear that you have to have to make a record.” “It’s not the gear.” There isn’t anything you could buy for even $100 that couldn’t be used to make a great record.
Bob Power: You need to participate in artist development.
Frank Filipetti: You’ve got to have a video running during the recording session now too.
Hank Shocklee: “I never wanted to be a record producer. I only do what I like. And what I like, I see it through all the way to the end.”
Bob Power: Developing the broadest skill set that you can helps you survive and ultimately become a better practitioner.
Hank Shocklee: The mastering engineer is the key specialist now.
Kaleb Rollins: How can I do this on my own terms? I setup a recording studio in my dorm room and charged people. Early on we had to pay the bills so we took any session that came along just to pay those bills. When you can find good artists who actually have good money, that’s amazing.
Carter Matshullut: Branding is a big deal for younger producers, to come in and make things “cool.” There is the hustling side of it – studio in the dorm. Be able to answer the question: Why should I hire you?
Bob Power: People pay you for heart and sole. They want you to help them make their dreams come alive. Give more than the artist will give themselves.
Nick Sansano: Younger practitioners seem to have an innate sense of branding.
Carter Matshullut: Royalties are a distant hope in many genres. Sometimes producers take jobs because the project is cool and will get some buzz.
Hank Shocklee: “I’m hearing 808s in Country Records.” I want to do things like Baskin And Robbins where they put interesting things together.
Jesse Lauter: You gotta know if you are right for the job. “I knew I wasn’t the right person for the job.”
Frank Filipetti: I really admire the young people, how they go after everything. I am not a multi-tasker. “But I can concentrate like a motherfucker.” When your eyes are open, too much of your brain is used on visuals. I like to mix with my eyes close. “When someone pours their heart and sole into something there is really something to it.”
For more convention presentations, photos, audio gear, etc. see: 135th AES NY Roundup

 There are many ways to prevent plosives in voice recordings. My favorites are the simple ones. When I record voice my first two lines of defense are:
(1) Mic placement, and
(2) A low rolloff before compression.
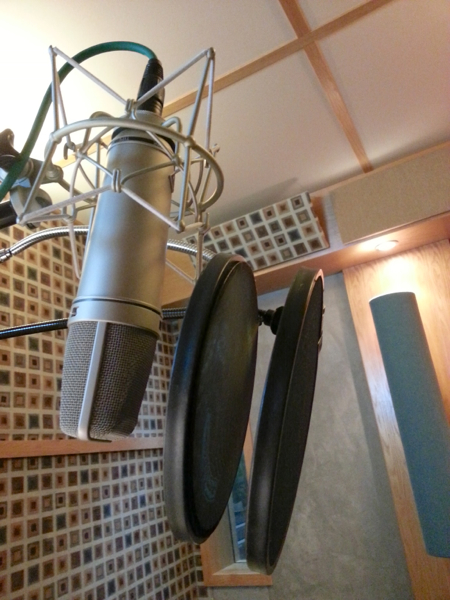
A few weeks ago my friend and colleague Ethan Friedericks was recording a child actor. She was very professional and did a great job, but Ethan and I noticed some “p” popping despite good mic placement, a low rolloff, and a nylon covered pop filter. I’d heard of people using a second pop stopper, but never actually witnessed it. On a break we decided to try it, and it worked like a charm.
WHY DOES IT POP?
I find that choosing a technique has a lot to do with root causes; understanding why plosives happen can lead to a solution.
When we form P, T, and B letter sounds a gust of air leaves the mouth. Just put your hand in front of your mouth and feel the blast you create. Microphones convert moving air patterns into electrical patterns. The burst of air from P, T, and B sounds has significantly more force on the microphone element than other air vibrations made by a mouth. The sound of the air hitting the capsule is unnatural and distracting. With rare exception (beat boxing) plosives are undesirable.
The sound of the air alone usually isn’t too distracting or difficult to avoid. But another factor creates the real challenge: Proximity Effect. Directional microphone patterns — such as cardioid — overemphasize bass frequencies at close range. A gust of air up close can sound like a bomb going off, especially with a monitoring environment that allows listeners to hear the bottom octaves.
Most techniques for minimizing plosives either address the gust of air, or the exaggerated bass response of proximity effect. But there is one approach that deals with both: mic distance.
SUMMARY OF TECHNIQUES
- Move the mic farther away from the mouth where the air blast is less powerful AND there is less proximity effect.
- Place the mic out of the direct line of fire for air leaving the mouth, usually above or to the side.
- Low rolloff before compression.
- Typical pop stopper: nylon stretched over a ring. Some use two fabric layers with a gap between.
- Variations of the nylon ring that use wire mesh, perforated metal plates, and other wind blocking materials.
- Foam sock that slips over the mic, or is built into some mikes such as the Shure SM58.
- Less directional mic pattern. Pops are almost impossible with omni mikes and can be used very closely.
Each of these approaches has audible side effects, so it’s nice to have options. As you may have noticed, I will often use several techniques at the same time. Happy voice recording!
UPDATE Oct 18:
Gary Terzza of VO Master Class provides this useful technique for placing a pop stopper for maximum effectiveness:
“Place your hand (palm facing towards you) between the pop shield and the mic and blow gently. Now move the popper slowly towards you while still blowing. Stop at the point you can no longer feel the breath. This is the optimum point at which the air is diffused, stopping those intrusive Ps and Bs.”
See also: Things to listen for when choosing a vocal mic by Ben Lindell
I like this video for two reasons.
(1) The insight for actors is elegant and inspiring.
(2) It begs the question for the rest of us: what is the essence of your calling? For example, most people I work with don’t want to talk about audio gear, they just want confidence that I know how to use it to capture great performances.
Knowing the intrinsic value of your craft not only helps you do it well, it allows you to let go of insignificant things. Such an ability to shed distractions and focus on what’s important sounds like a good start on finding a little career fulfillment.
 See Also:
The Importance of Being Wrong
Hammer Everything
Pinterest: Actors
Recordinghacks and Audio Technica put the new AT5040 microphone in my hands so we could hear how it sounded on some voices. For a fair comparison we recorded two microphones at the same time with a pristine signal path and no processing. But I wondered how things would change if I processed the voice recordings. Would it reveal greater contrast? Would new aspects be discovered?
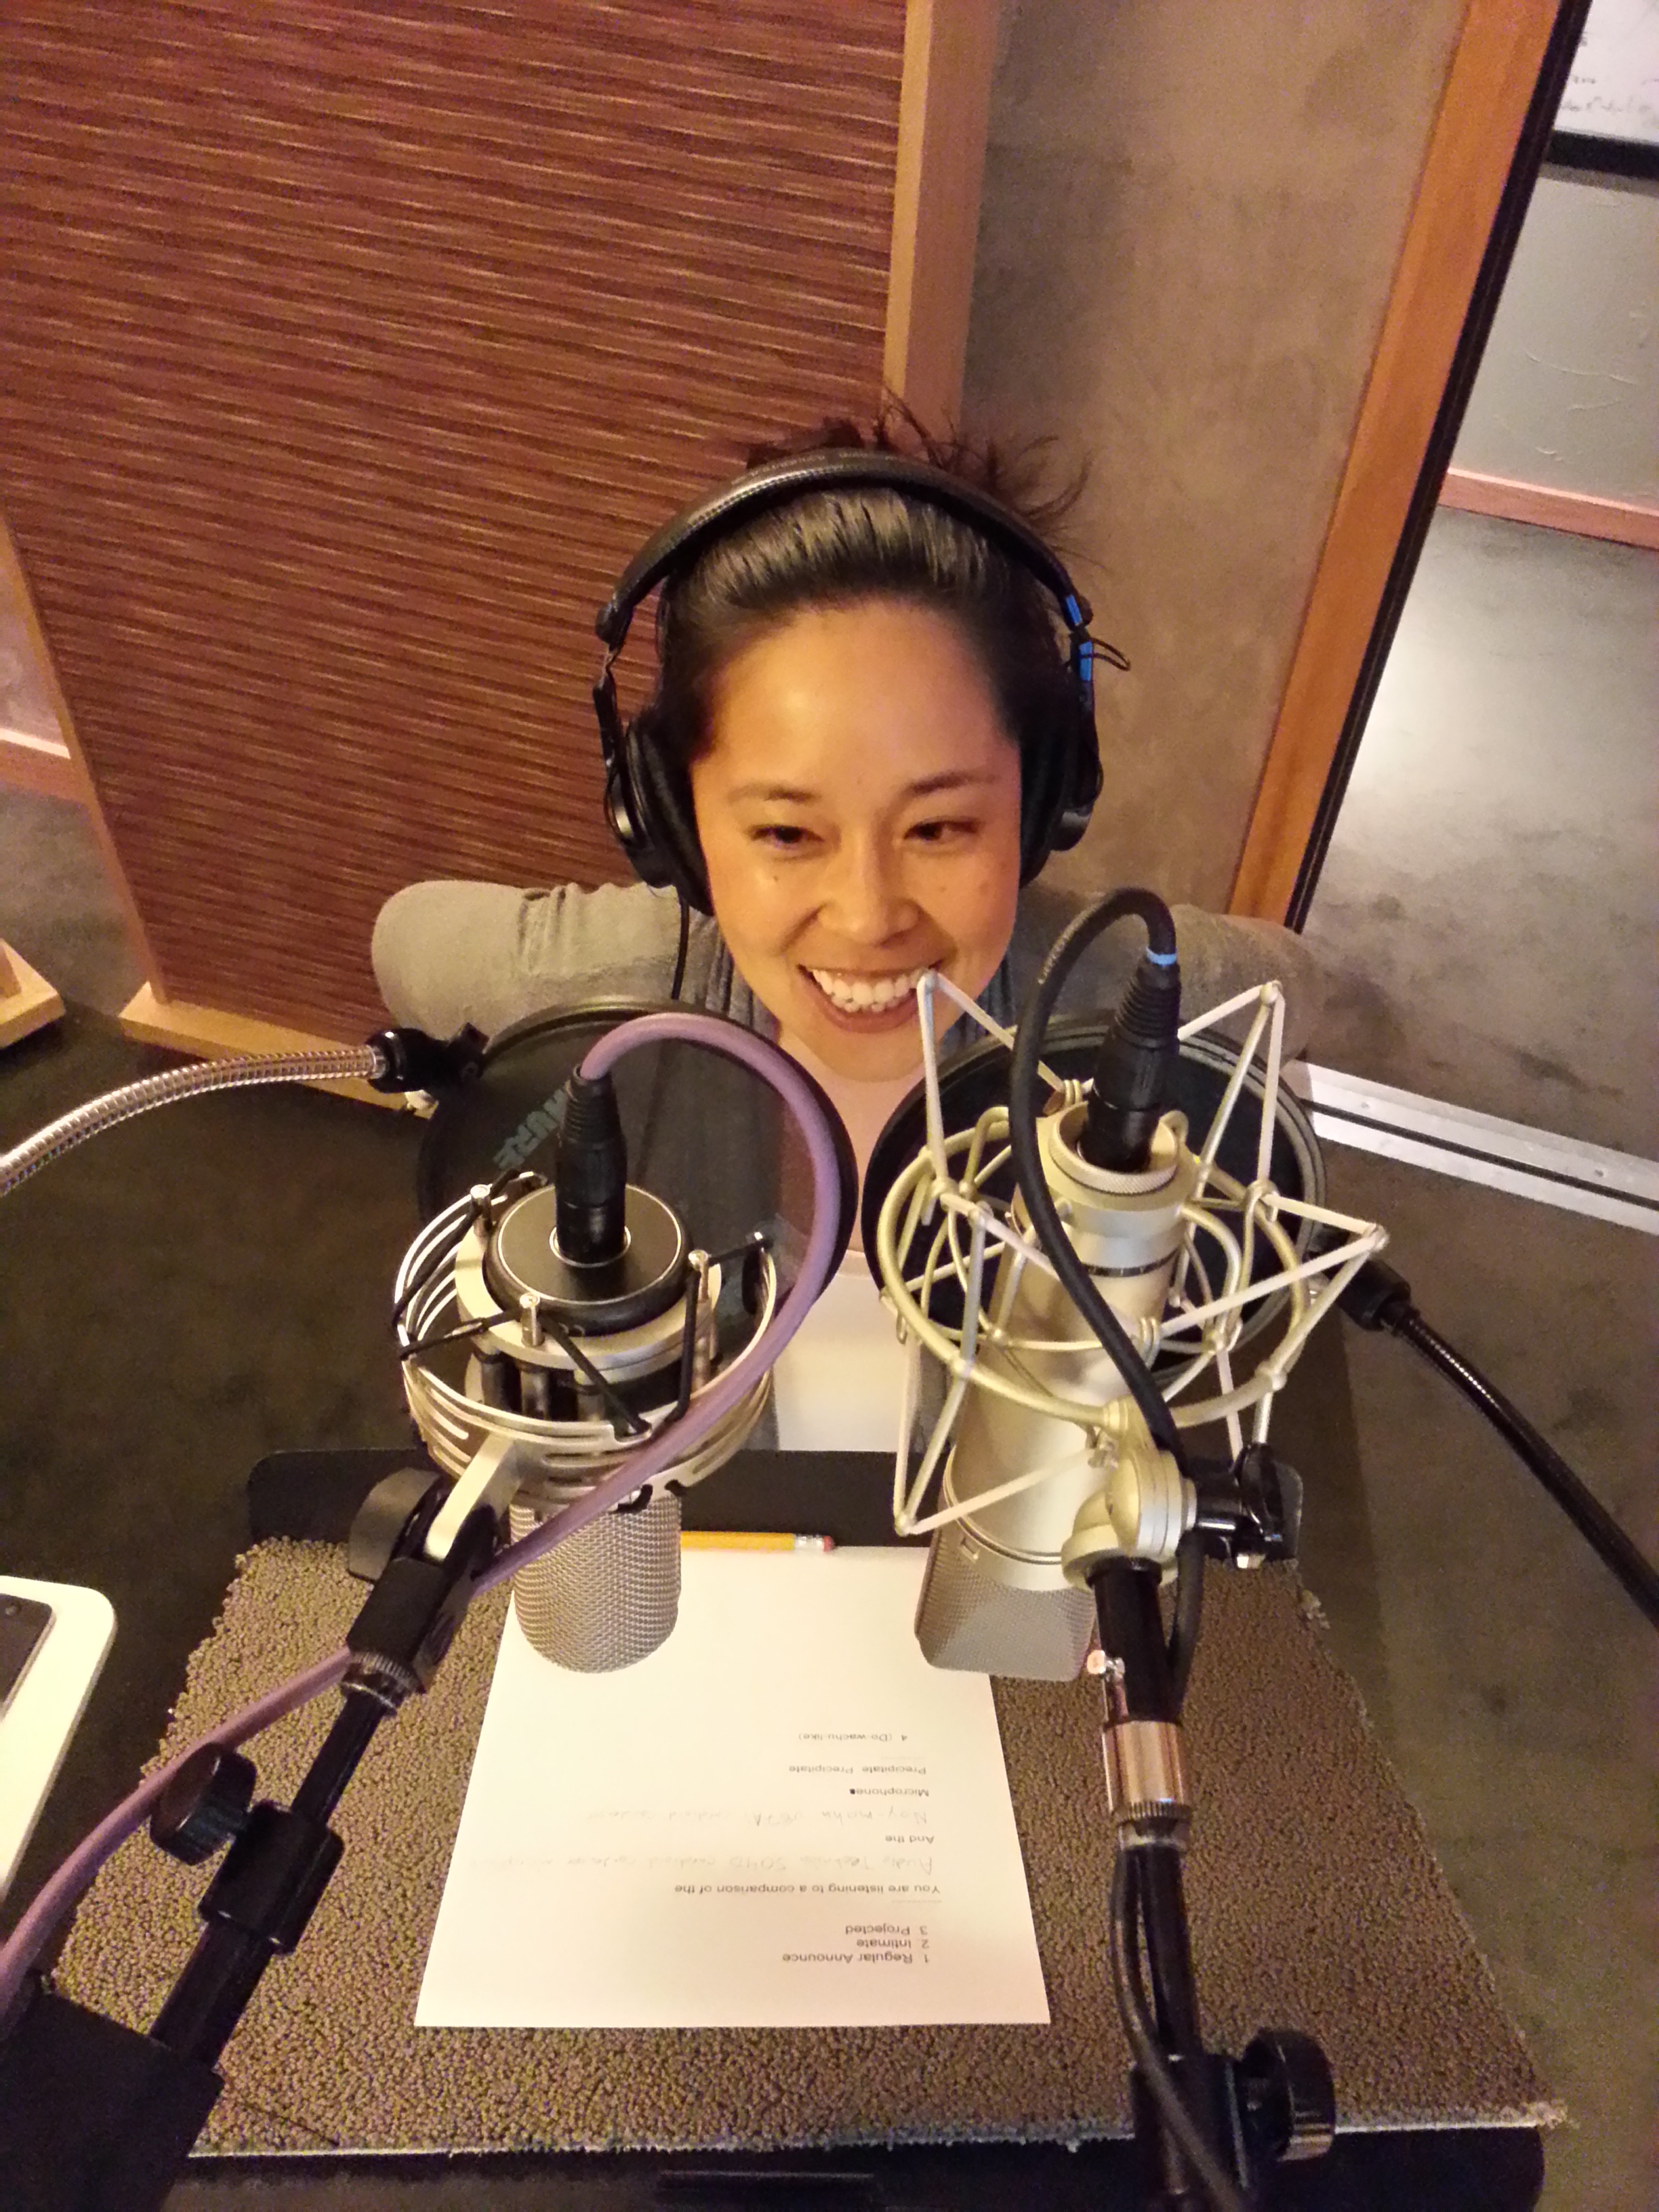
So I started with a template and adjusted things until it sounded good. Have a listen to these recordings of voice actor Stephanie Sheh after processing. Each time we hear the AT5040 followed by the Neumann u87Ai.
The difference in presence was most obvious to me in the projected read. At first the presence was the ear catching difference for the intimate read too, but then I noticed the low end change. While neither mic sounded especially sibilant to me, the 3k to 9k Hz range sounded more natural on the AT5040 across all reads. I think either one of these microphones might be a good choice on Stephanie’s voice depending on the project.
This comparison also available via YouTube.
Hear the unprocessed recordings of Stephanie and others.
Listen to other microphone comparisons.
More about voice processing.

We were overjoyed with the way Kari Wahlgren brought the words to life:
Ashley Kaye (producer), Kari Wahlgren (voice), Vickie Saxon (wordsmith), and yours truly.
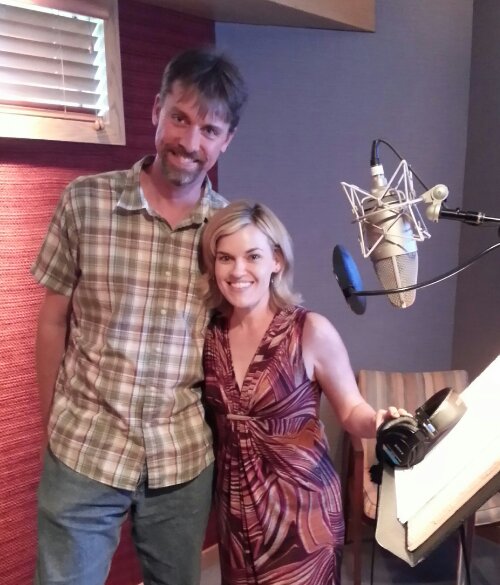
Kari sounds great on any microphone, so recording her with a Neumann m149 was icing on the cake. Kudos to engineer Nic Baxter (not pictured) at Igloo for another great recording session.

Another fun, laugh filled recording session with Randy Coppinger, Jim Cummings (voice), Christopher Denman (audio lead), and Nicholas Barone (producer).
On July 30th the Los Angeles chapter of the Audio Engineering Society hosted a presentation by Julian David featuring guitar player Douglas Showalter titled “Ribbon Microphones: Life Beyond the Figure-of-8 Pattern.” I enjoyed hearing the difference between some ribbons that were not the native bi-directional pattern: an RCA 77 DX, RCA MI-6203/6204 Varacoustic, RCA BK-5B, and the AEA KU4. He threw in a classic RCA 44 (which is bi-directional) just for good measure.
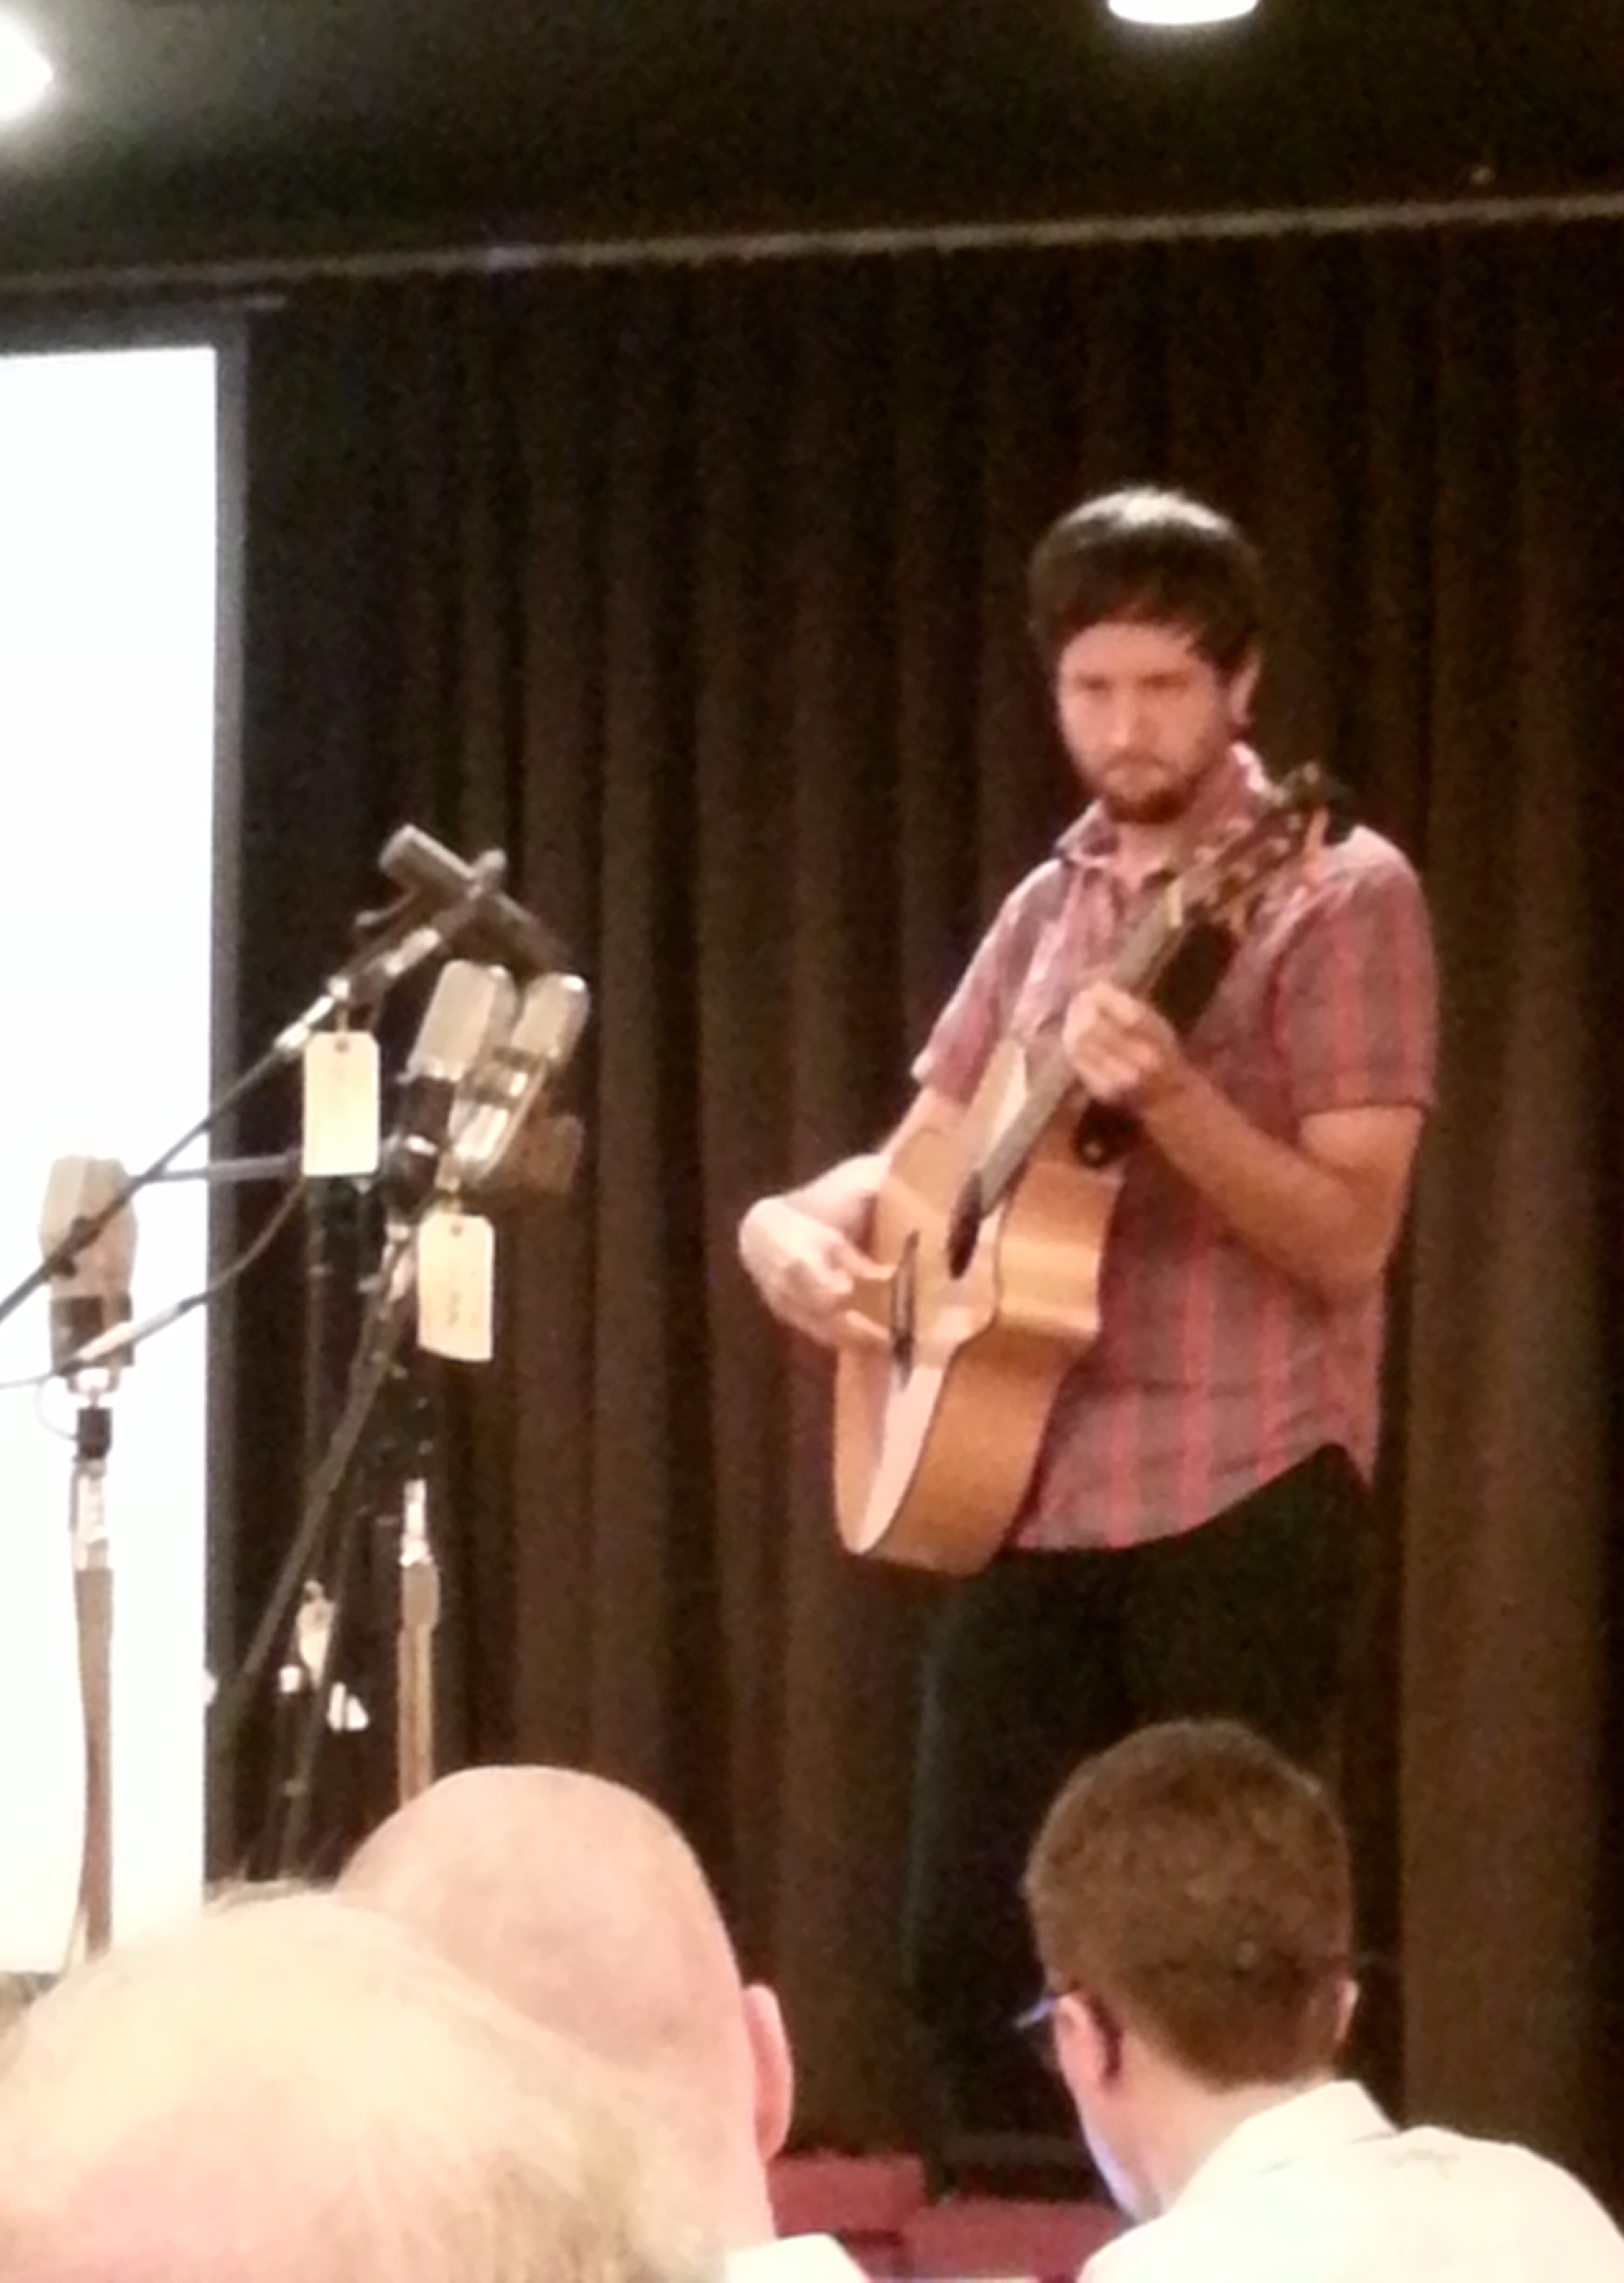
We heard the 77 DX and Varacoustic in different pattern settings. Douglas played his guitar closer and farther from the microphones so we could hear the changes in color. We even listened at 180 degrees and 90 degrees off axis. I had no experience with the Varacoustic nor the BK-5B, so it was a treat to hear them.
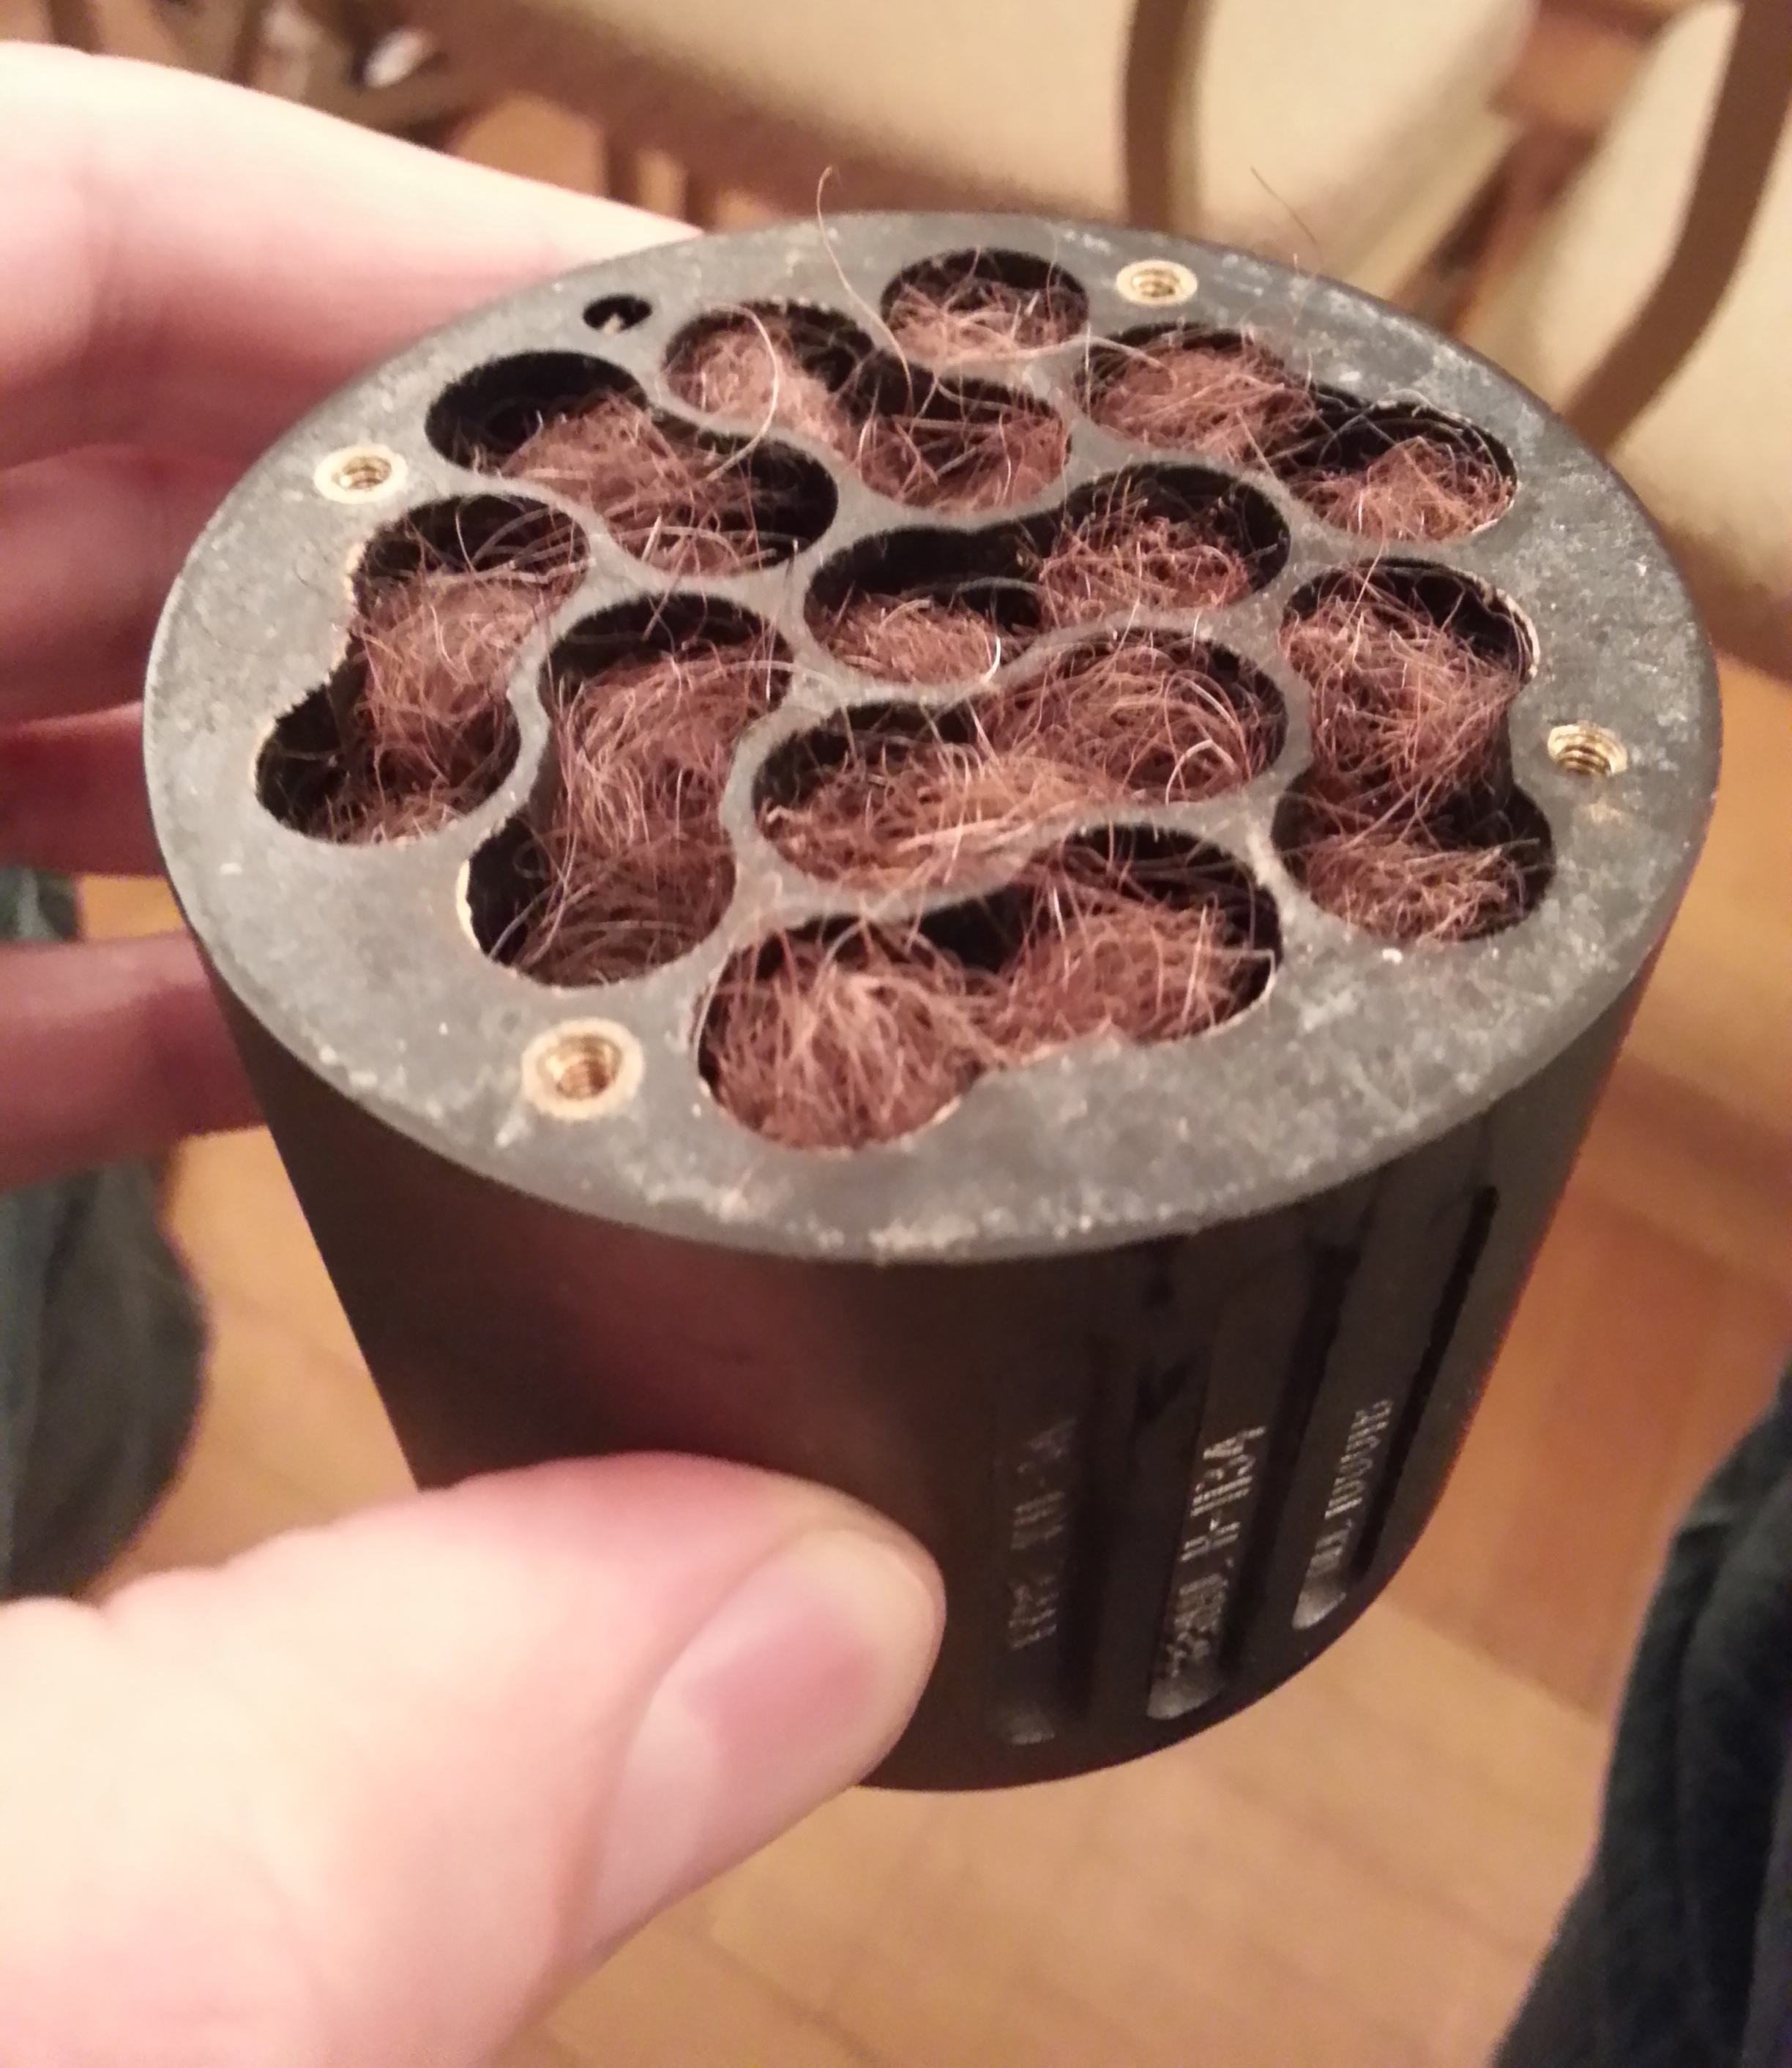
As both a recording engineer and mic designer, Julian’s presentation included some operational theory and a look at the inner workings of some ribbon microphones. He passed around a labyrinth from inside a rare RCA KU-3a (10,001) microphone. You can see the cavity is filled curly cow hair! At the time these classic mikes were made, it was determined that cow hair worked well as a frictional absorber. More efficient, stable, and consistent sounding materials are available now.
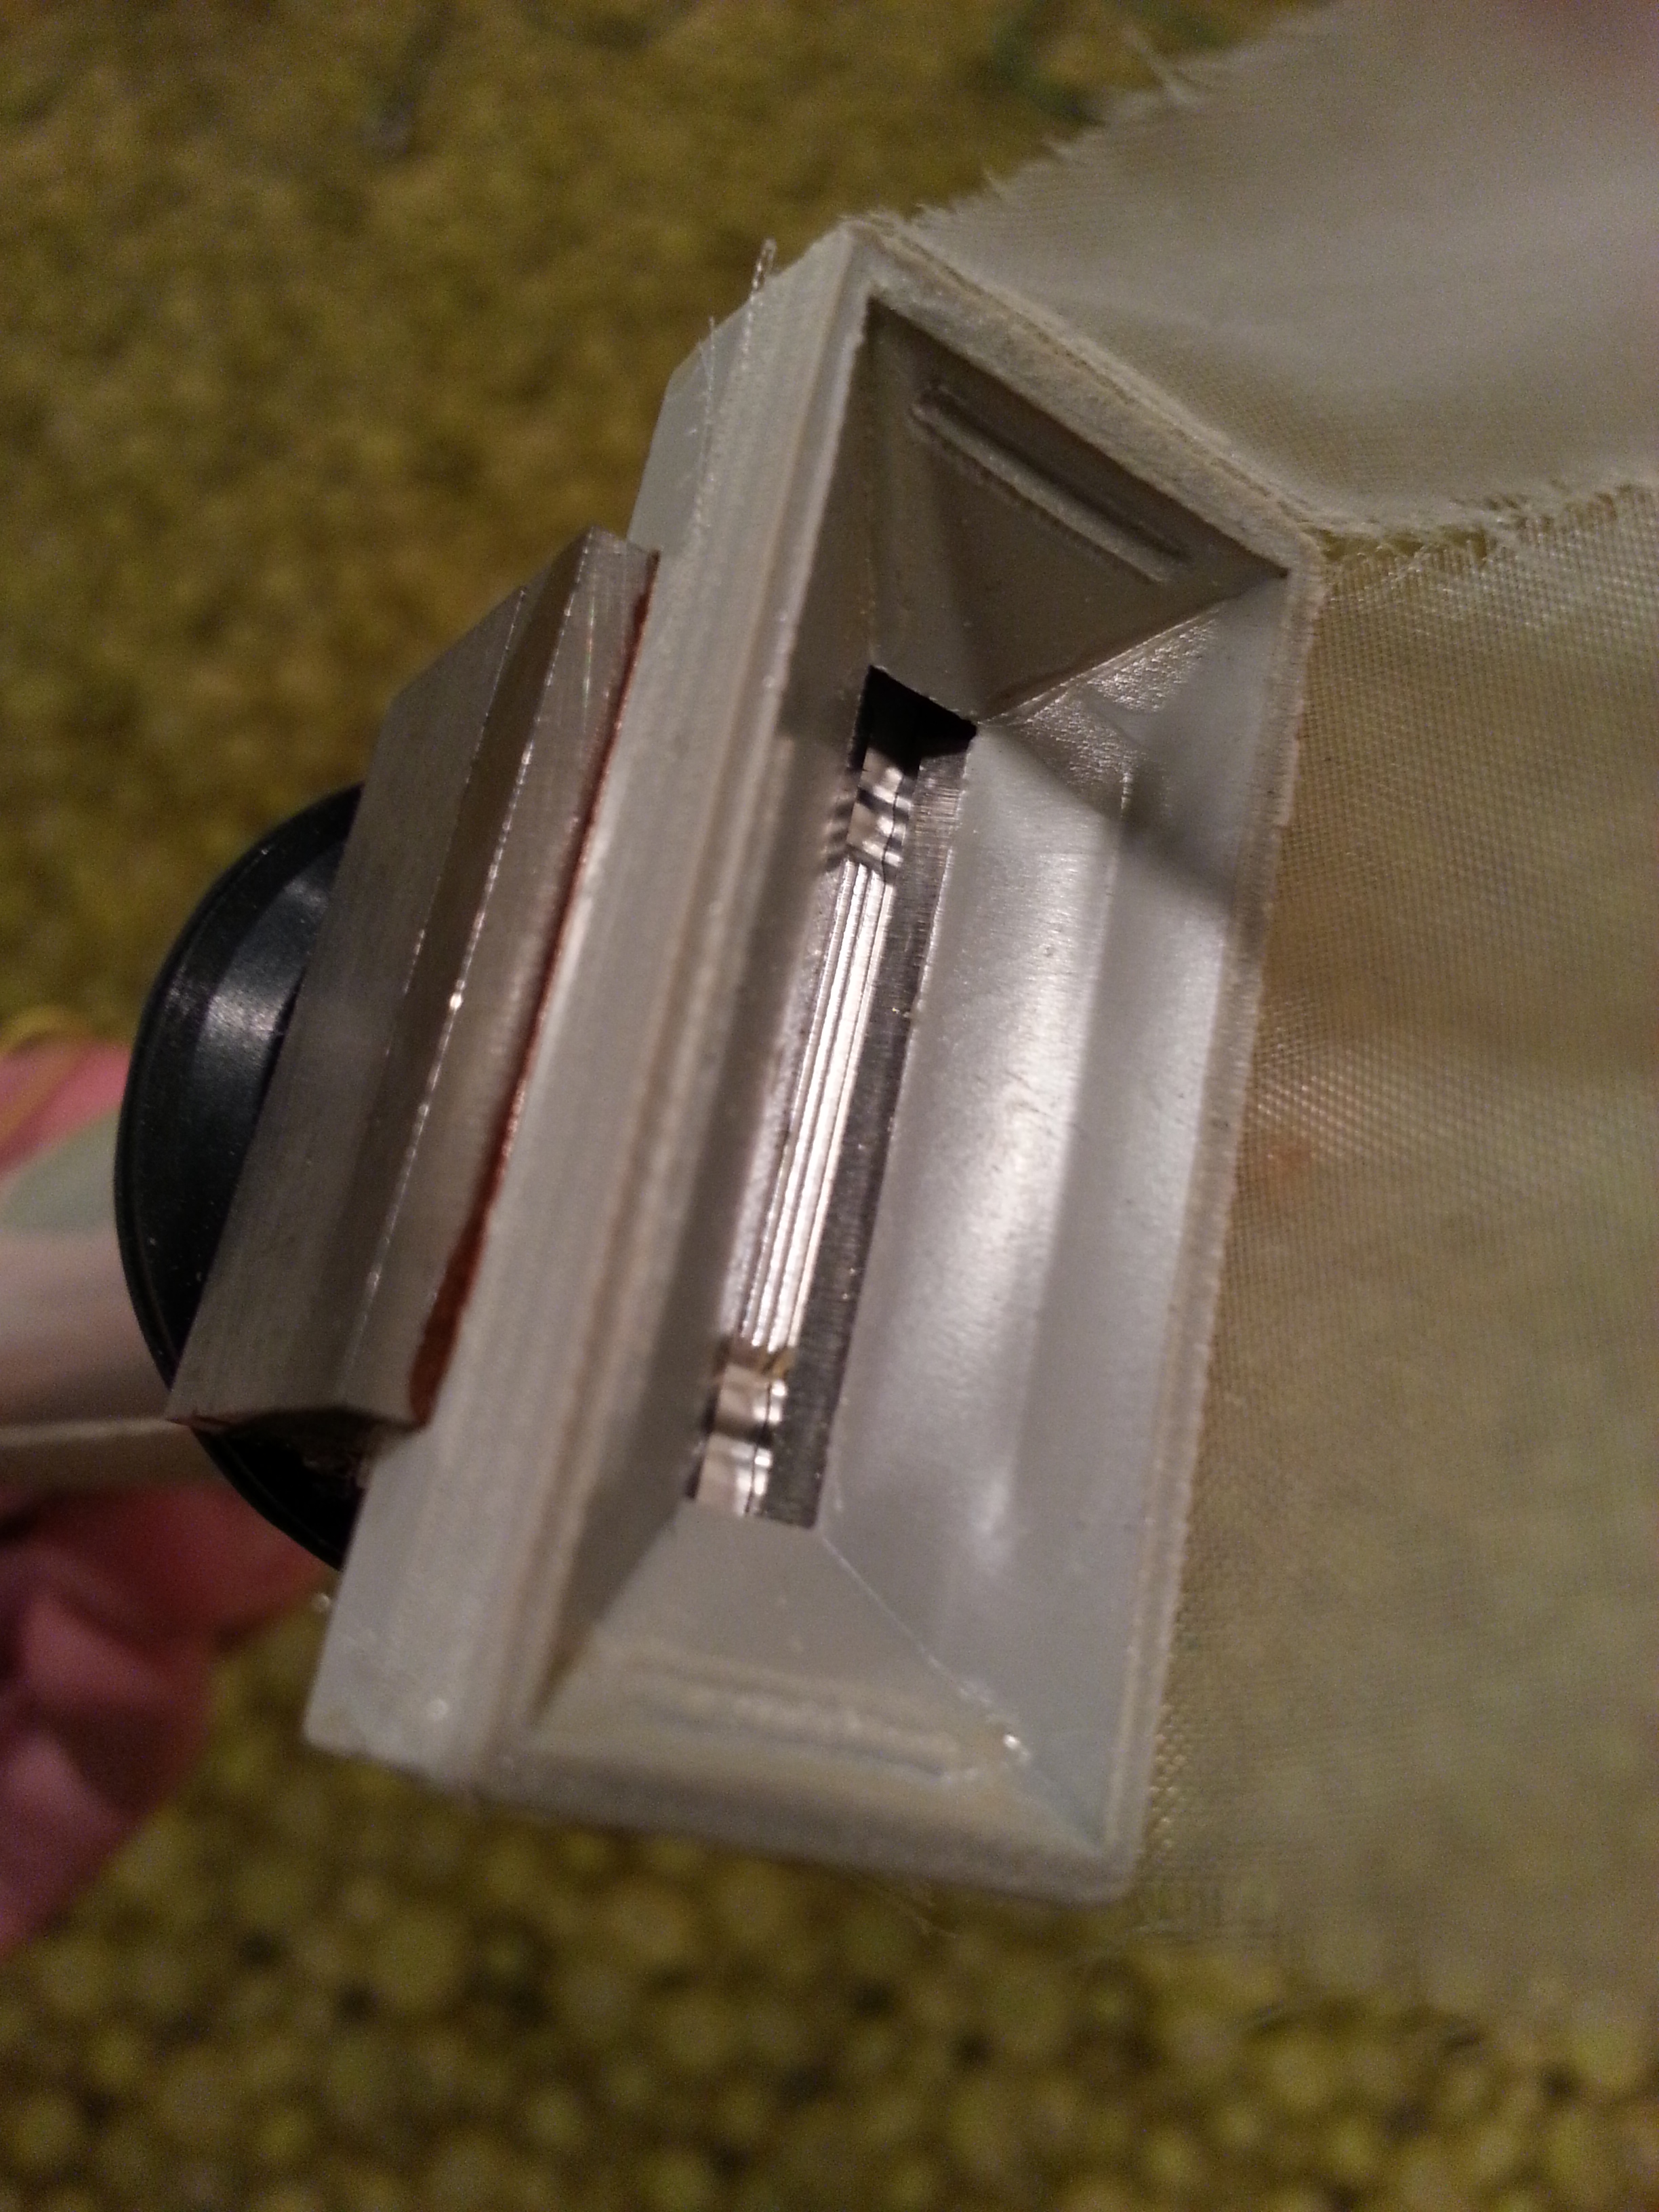
This was also my first time to see a Beyerdynamic M160 element, the famous “piston” design where the ribbon is crimped width-wise rather than the traditional length-wise. Plosive protecting mesh has been pulled back to see the detail of the ribbon element.
Wes Dooley was present and shared his ribbon mic wisdom too. He and Julian both confirmed a suspicion I had about all directional microphones: There is NO proximity effect at 90 degrees off axis, regardless the type of microphone element used. Good stuff.
Kudos to everyone for a thought provoking evening!
See also:
How A Unidirectional Ribbon Mic Works
Unidirectional Ribbon Mic Shootout
The $60,000 Ribbon Mic Shootout
